
Do It Yourself Cornice Installation
 IMPORTANT – Please note that while this page advises on the mechanics of cornice installation, risks exist, particularly and especially for the “amateur” or inexperienced person working at whatever height cornice or other mouldings are fixed. The issue of personal safety must always be your primary consideration. We advise here on fixing methods and techniques, you must seek advice from access equipment suppliers or hirers on safe, secure methods of working at height – all heights.
This page deals exclusively with cornice installation. If you are fixing mouldings other than cornice please enquire specifically, we will always be pleased to advise. In person, by ‘phone. However you wish.
Other types of mouldings generally follow the methods outlined on this page. Again, please ask us, our contact details are below regarding possible differences, for instance setting out details.
 Remember that we will happily provide you with a written cost for installing cornice at your home. We install throughout U.K. and beyond. Written quotes often given while you wait.
Please note that we also replicate and replace damaged mouldings, reinstating “as new” or to match your existing mouldings, whatever you wish.
General
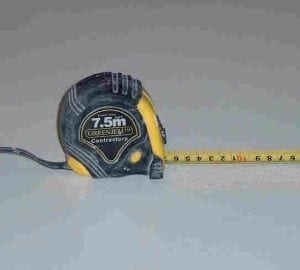
 To work with, prior to installation of cornice you will need these basic, essential items;- Tape measure, HB (or softer) Pencil, Saw and Mitre Block. Also safe, secure access equipment.
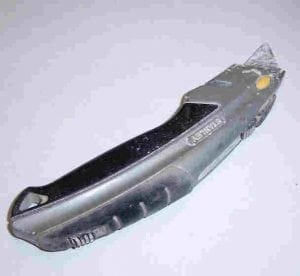
To actually fix cornice you will also need;- Adhesive, Stanley Knife (or similar), small water brush.
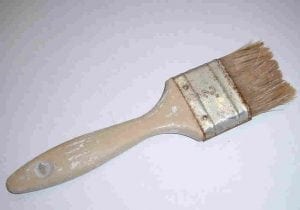
While not essential it would help if you also had;- Someone to help you (essential on larger designs of moulding, flexible bowl, screws, screwdriver, “plasterer’s trowel end small tool”. Most (or all) of these items are illustrated on this page. Hover your mouse pointer over the image and the description should appear.
 This page neither hopes or claims to be complete, it is merely intended as a guide to “get you started”.
Please note we close on almost all Sundays and open for less hours on Saturdays than our usual 08.00 to 16.30 hrs. Cornice can be delivered to you, please do ask. A delivery charge is levied for non-local addresses.
Cutting
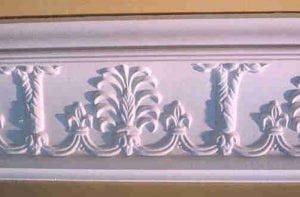
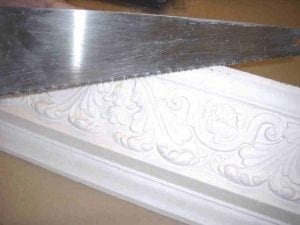 Cornice has two edges, top (ceiling line) and bottom (wall line). Establish which is the wall line (bottom) and which is the ceiling line (top) on your cornice. The image above illustrates this, the correct way up, with wall line to bottom.
 Take all measurements along bottom, place cornice into mitre box “upside down”, i.e. on it’s top as in image opposite. Transfer actual bottom dimension to rear of line on cornice. Deduct 10mm from actual length.
Cut to length, ensuring you have correct direction of mitre, internal or external at each end. Try this into place “dry”, prior to applying any adhesive or fixings.
Mitre Boxes & Mitring
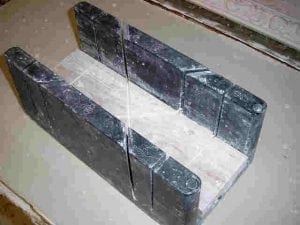 Mitre boxes to cut our smaller cornice designs can be purchased at diy or similar stores for modest cost. By “smaller” I mean up to approximately 4″ (100mm.). To the left is one example, this has a timber insert to prevent the cast plastic base blunting saw teeth.
 Above this size one has the choice of making your own mitrebox / board or measuring onto the face of the cast prior to cutting.
For these details please contact our office / works (details below) where we will be very pleased to advise first hand on dimensions, techniques and methods suitable for your particular design of cornice. Please do ask.
Fixing
 If piece of cornice fits satisfactorily (a small gap at each end is helpful), apply adhesive in “blobs” at approximately 200mm intervals.
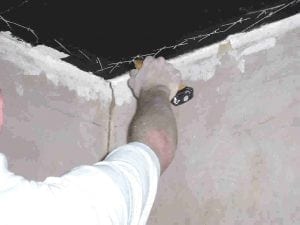
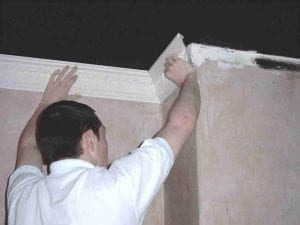
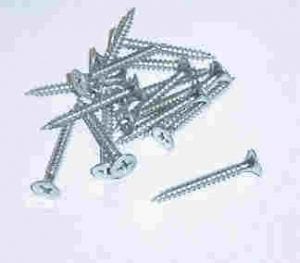
Apply cornice to required position, countersink and screw into position. Fill top and bottom edge to wall, also fill screwholes and any damage incurred.
 Continue, filling mitres and butt joints as you progress. Cornice usually dries out quite quickly, when it can be decorated. As with any plaster surface, avoid reflective (glossy) paint finishes as these usually spoil the appearance of your finished job.


